
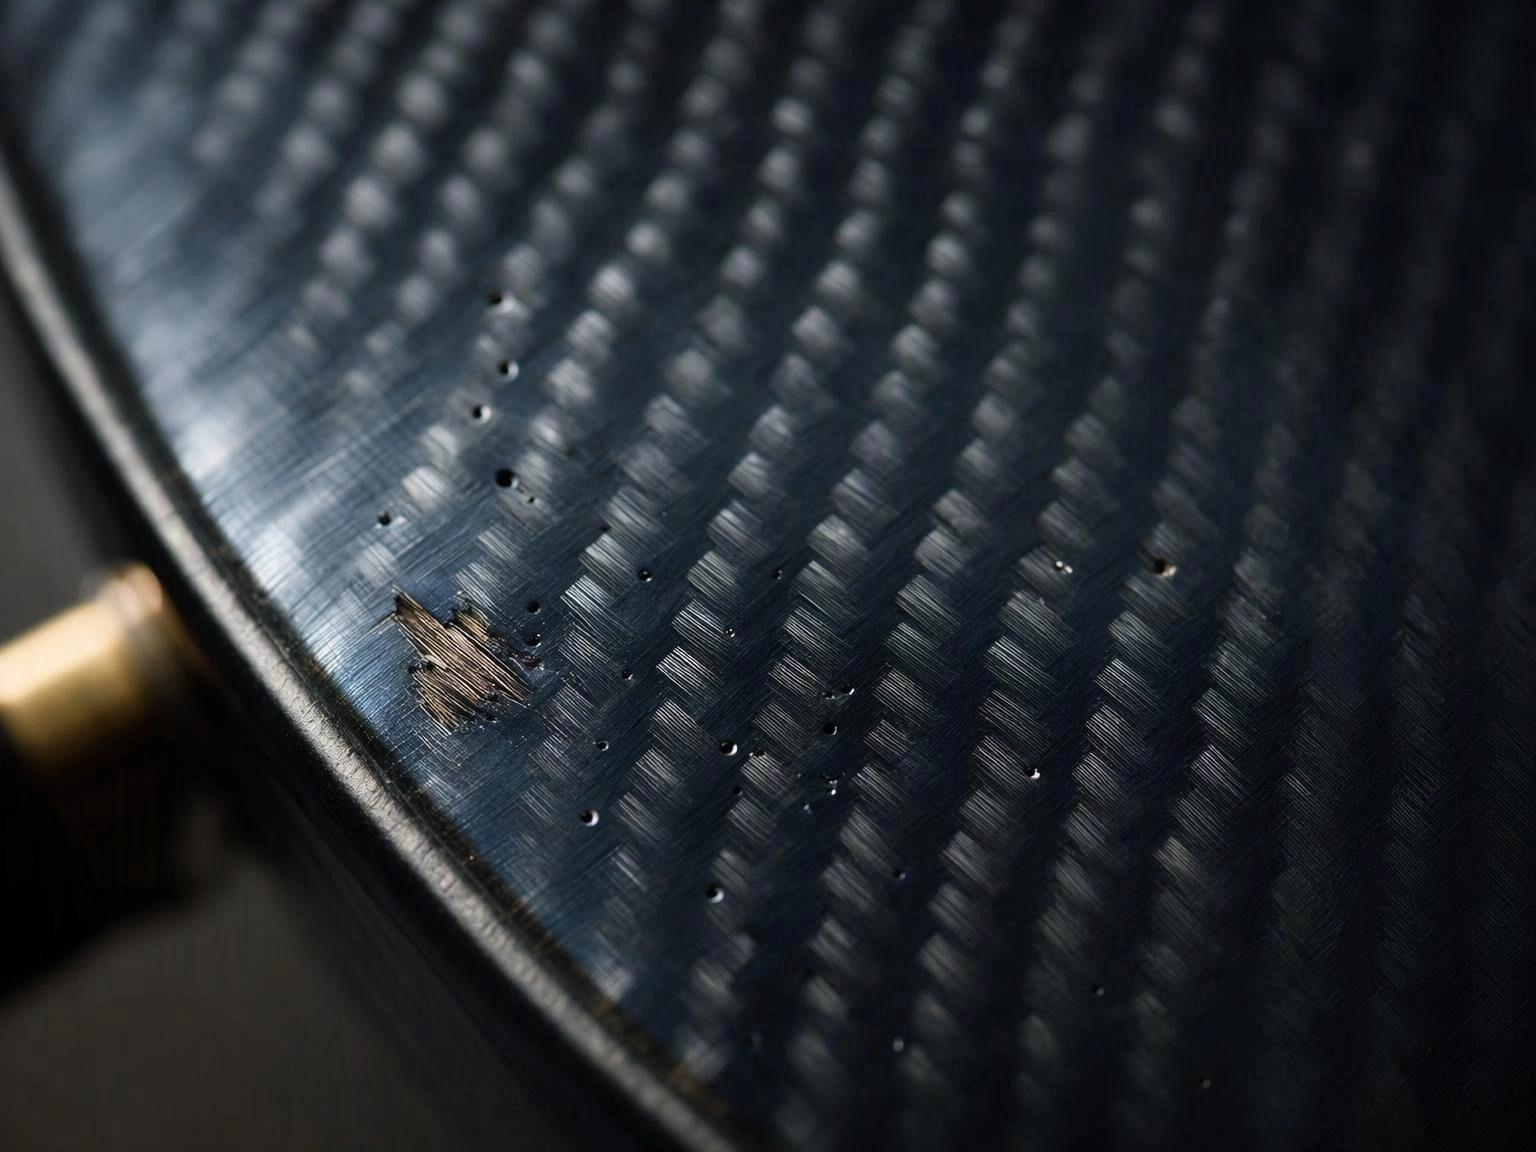
A visible carbon fiber part is judged on its surface, and the surface is where every upstream process problem shows up. The difficulty is that several different defects look similar to the eye but have completely different causes — and applying the wrong fix makes them worse.
This article is a troubleshooting guide for the defects most commonly found on cosmetic carbon parts, written from the production floor rather than from a textbook.
Pinholes
What it looks like: a scatter of tiny craters in the clear coat, often following the weave pattern, visible as bright points under raking light.
What causes it:
- Air trapped at weave crossovers, where the tow geometry creates small pockets that resin cannot fill.
- Resin viscosity too high during wet-out, so the cloth is not fully impregnated.
- Insufficient vacuum or a bag leak during cure.
- Clear coat applied over a surface that still contains open porosity.
The wrong fix: adding more clear coat. Film thickness hides pinholes temporarily; as the coating shrinks and weathers, they reappear — and now they are under a thicker layer that is harder to repair.
The right fix: degas the resin, extend the wet-out time, verify bag integrity and leak rate before cure, and seal the surface before topcoat. On compression parts, check that the mold is venting properly and that the charge pattern does not trap air at the edges.
Dry spots and fiber starved areas
What it looks like: a pale, matte, fuzzy patch where the weave appears lighter and feels rough; under a magnifier the fibers are visible without resin around them.
What causes it:
- Insufficient resin in the local area — a charge size or flow problem in compression molding.
- Resin flowing out of the part during cure rather than staying in it (bleeding), often from too much pressure or a poor edge dam.
- Prepreg past its out-time, so the resin no longer flows properly.
- Contamination — mold release, oil or dust — preventing resin wetting.
Why it matters beyond cosmetics: a dry spot is a structural defect. It reduces interlaminar strength locally and is a starting point for moisture ingress and delamination. It should be rejected, not painted over.
Resin-rich areas and surface pooling
What it looks like: a glossy, slightly sunken region where the weave disappears, sometimes with a visible flow line at the boundary.
What causes it: excess resin accumulating where the fabric does not conform to the tool — typically at radii, at the bottom of a recess, or where the laminate has a thickness mismatch. It can also come from uneven pressure distribution, where a flexible area of the tool deflects and leaves a gap.
Why it matters: resin-rich regions are brittle, they shrink more than the surrounding laminate and they are a common origin of cracks and of print-through on the cosmetic face.
Print-through and waviness
What it looks like: faint ridges or a “quilted” pattern on an otherwise smooth surface, visible at a shallow angle in reflected light.
What causes it: the internal structure telegraphing through a thin skin as the resin cures and shrinks. Ribs, honeycomb cores, and coarse woven plies are the usual suspects.
The fix: a surface veil or a separate cosmetic ply isolated from the structure, a more uniform laminate, or a slower cure ramp to reduce shrinkage gradients. Polishing will not remove print-through; it is a laminate design issue.
Weave distortion and tow shifting
What it looks like: the diagonal pattern bends, fans or gaps at corners and around tight radii.
What causes it: cloth cannot stretch, so it either drapes or distorts. Sharp geometry, insufficiently supported corners during layup, or the wrong weave for the curvature.
The fix: choose a more drapeable weave, add darts on hidden faces, redesign the radius, or accept a pattern break in a controlled location.
Orange peel and solvent popping in the clear coat
What it looks like: a textured, slightly dimpled finish, or small blisters that appear after the coating cures.
What causes it: coating viscosity or application technique for orange peel; insufficient flash-off time or a primer that was not fully cured for solvent popping. Both are finishing-process problems, not laminate problems, and both are preventable with a controlled booth and a written coating schedule.
What a buyer should ask for
Defect acceptance should be agreed in writing before production, with a master sample and a defined viewing condition. When a defect appears, the productive conversation is not “is this acceptable” but “which process variable moved” — and a supplier with cure records and material traceability can answer that question in an afternoon.
How Shengtian controls cosmetic quality
Guangdong Shengtian Technology produces cosmetic carbon fiber parts through pressing, roll-wrapping and autoclave curing, with clear coat applied in an independent Class 10,000 dust-free painting workshop under controlled temperature and humidity. Surface inspection is carried out against a signed master sample under defined lighting, and cure cycles are recorded and retained for each batch.
If you are receiving parts with a recurring defect, send a photograph under raking light and the part's process route — we can usually identify the cause from the defect pattern alone.
Carbon fiber ashtray · Carbon fiber engine hood · 3K carbon fiber tubes